

In this post, I’ll show you how to make a stencil in Photoshop.
In particular, my example will use some text as a stencil, and we’ll place an image inside that stencil.
Please note that even though in this example that the text is the stencil, you can easily make anything a stencil. Thus, what you’ll learn here applies to anything you’d like to make a stencil.
How To Make A Stencil In Photoshop
In this example, we’ll create a stencil in Photoshop using text.
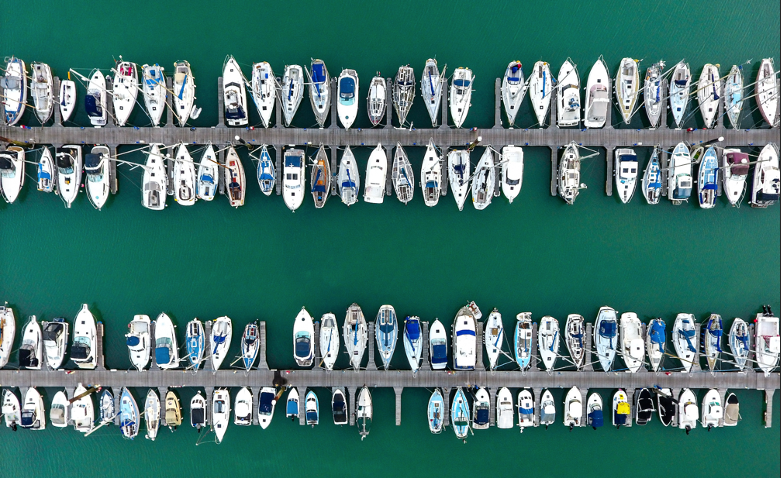
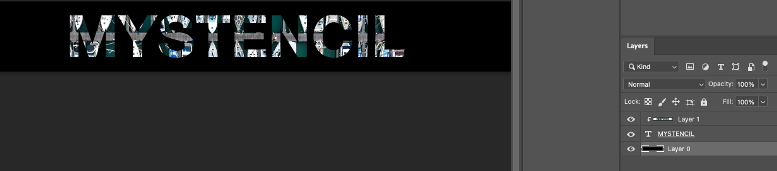
This is great for certain designs where you’d like an image to be embedded into text, where the text serves as a “window” to the image. In my example, I’ll have use the text “MYSTENCIL” as a stencil for the image. And then inside the stencil, I’ll shove a picture of a harbor in it. The end result will look something like this.

Step 1: First, create some text by pressing t and typing something. In this case, I’ve created a text that says “MYSTENCIL” as per below:

Now, I’ll proceed to use the text as my stencil and have “MYSTENCIL” as a “window” for this image:
Step 2: I paste the image on top of the MYSTENCIL text. Note that Layer 1 (the harbor image) is on top of the “MYSTENCIL” text.

Step 3: Next, select your “Layer 1” (i.e. the image you’re trying to push into the stencil). Press and hold alt / option if you’re on Windows/Mac respectively. Then, left-click the top edge of the stencil (text) layer.
Step 4: And then you…just kidding, you’re done! Since the whitebackground makes the final result hard to see, I’ve changed the background color in Layer 0 so that it’s more clear:
Now we’ve got this cool-looking movie poster thing going. Cool.
Can I Use Other Things As A Stencil?
Yes! You don’t have to use text as a stencil.
If you want to make a picture, or something else a stencil, it’s the same process. You’d just click on the layer you want to be embedded into the stencil, hold alt or cmd and left-click on the stencil layer.
All the parts of your stencil layer that isn’t transparent/cropped out will serve as a “window” for the image to be embedded in the stencil. Basically, everything that’s visible in your “stencil layer” will serve as boundaries for the layers on top (i.e. the images you want shoved into the stencil). In my previous example, the boundaries of the word “MYSTENCIL” defines the visible boundaries of the harbor image that I embedded.
Once your image is in the stencil, you can ctrl+T/cmd+T and move it around like you would normally. This allows you to adjust the image inside the stencil without having to redo the whole process.
In Photoshop, this technique is called using a clipping mask, and more details can be found here.
If you’ve found this post helpful and want to use Adobe Creative Cloud for your business, use this link here so I can buy my mom $1 pizza.


0 Comments