

In this post, I’ll show you a couple of easy ways on how to change the background color in Photoshop.
These are great for product photos when you want the background to “pop” so you can grab your audience’s attention better.
Having a great background color is also great because it can help liven up a boring portrait.
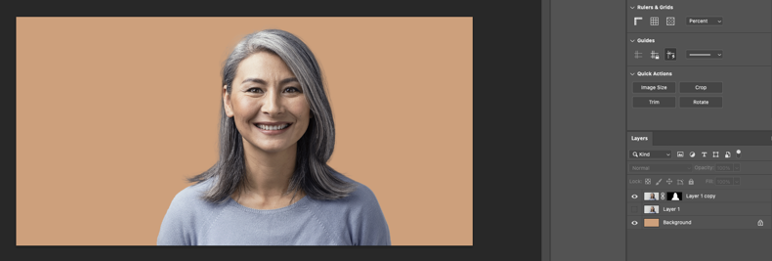
In the following examples, I’ll be using this portrait.
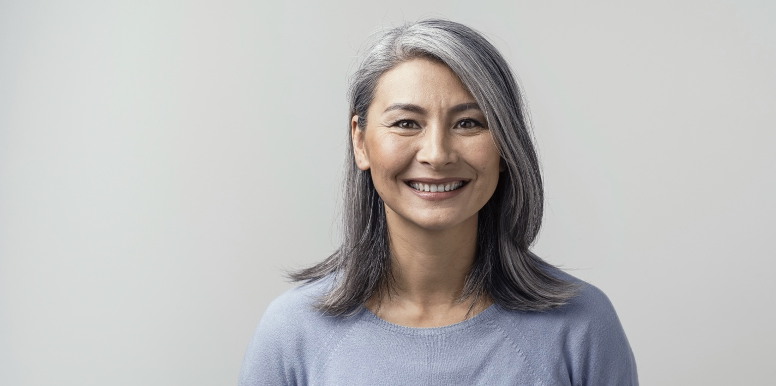
Table Of Contents
The Magic Wand Method To Change Background Color In Photoshop
Here, we’ll leverage Photoshop’s AI to change the background color.
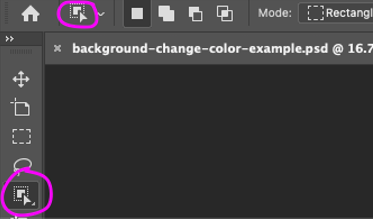
Step 1: First, press “w” to bring up the magic wand. And then press “shift + w” to rotate the magic wand until your tool looks like this:
Step 2: Press select subject, and it’ll look like this.

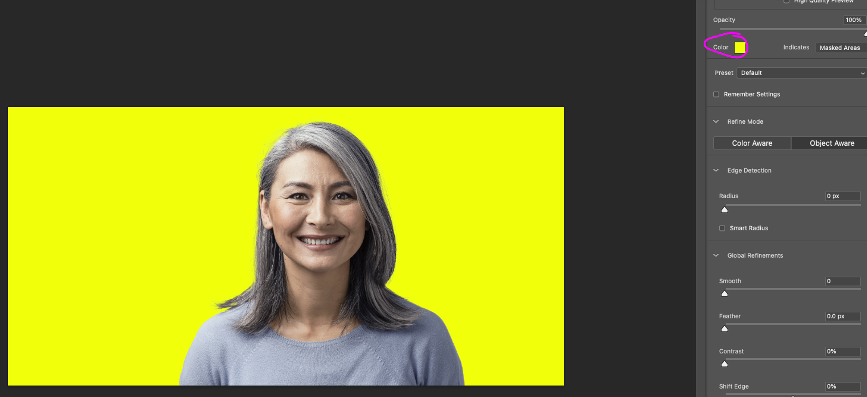
Step 3: Do Select And Mask. If need be, adjust the color to indicate the masked areas to a high-contrast color, like yellow. This lets you see what’s being included, and what’s not (in yellow) in the image. This helps you get a better idea of what you’ve selected and what’s omitted. It should look like this:
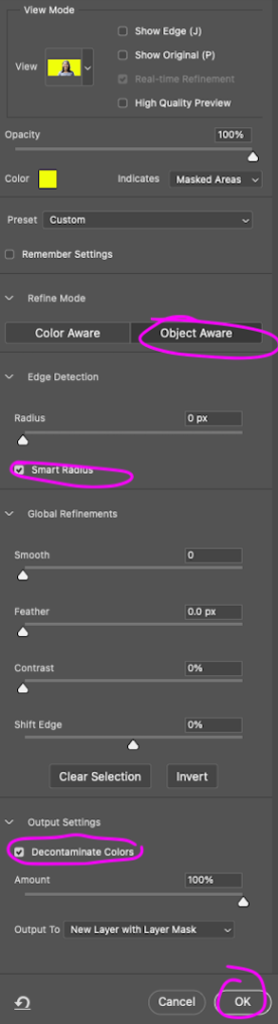
Step 4: Then, press Object Aware so the AI knows that it should be looking for an object (i.e a human being). Also check Smart Radius in the edge detection. This allows the AI to dynamically adjust the pixel radius to determine where borders are. Lastly, press Decontaminate colors which tells Photoshop to clean up the edges so it transitions into the background more nicely. Then, press OK. All the buttons you need to press are presented below:
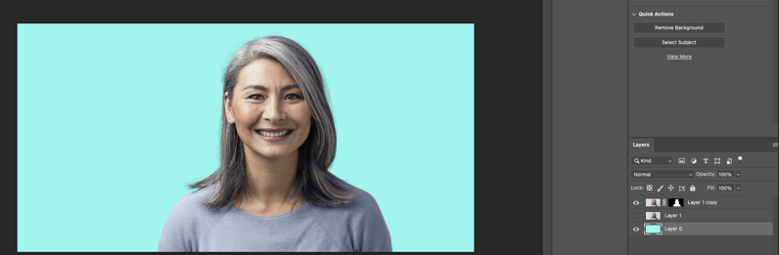
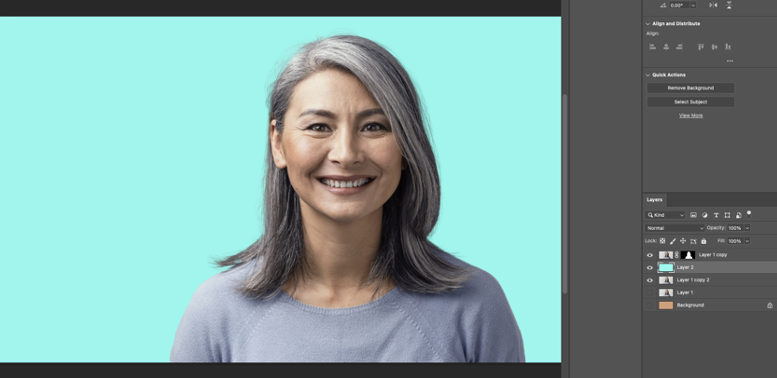
Step 5: You now have a new layer where you just have the portrait. In my case, I have a Background layer (which is just the default background image when I started up Photoshop). I have a Layer 1, which is the original image. And finally, I have a Layer 1 copy, which is the object/portrait that Photoshop has extracted for me based on Layer 1. Note that because Photoshop has already cropped the lady out from Layer 1, the Layer 1 copy’s background is transparent. Hence, the default background is showing through.
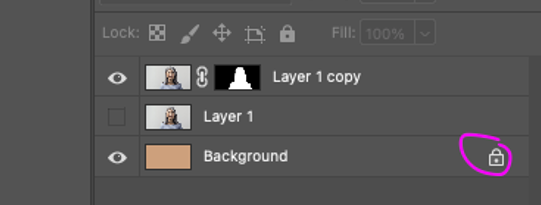
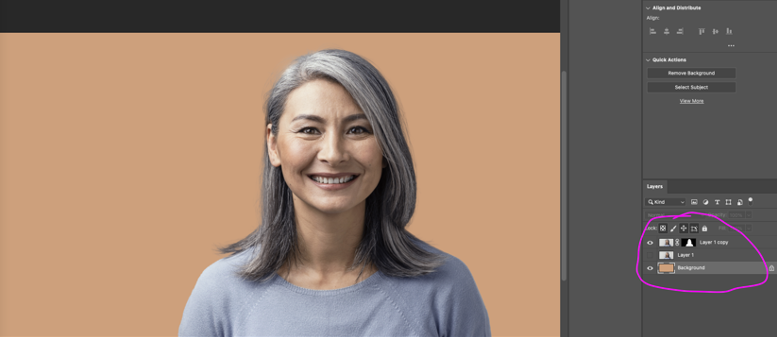
Step 6: Press the lock button on the background layer to unlock the background so you can re-color it.
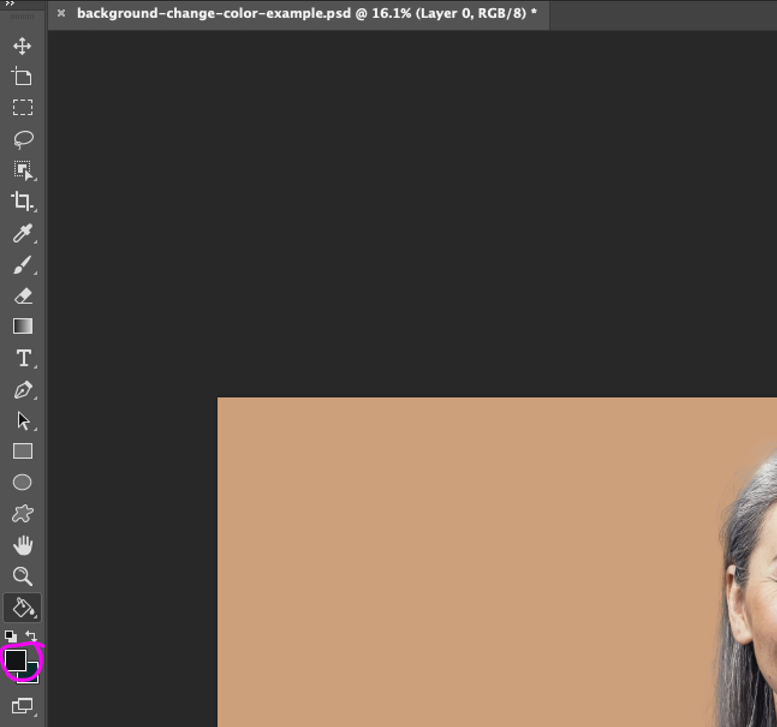
Step 7: Press the hotkey “g” – this is the paint bucket tool that can replace your background color. Do “shift+g” to rotate the paint tool if necessary until your tool looks like this:

Step 8: Pick the color you want by left-clicking on the color palette here:
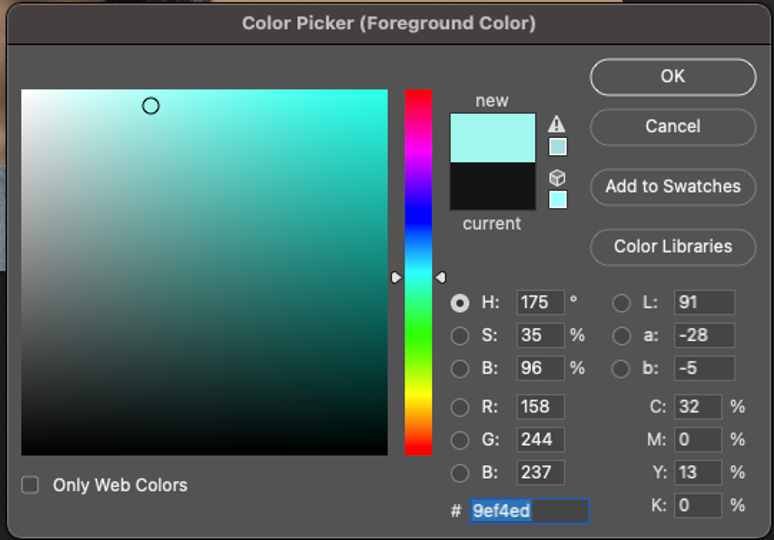
Step 9: Pick the color you desire. In my case, I chose a baby blue. Then press “OK”
Step 10: Finally, with your unlocked background layer selected (in my case, Layer 0), just left click on it and the paint bucket tool will replace the background image to whatever color you picked on step 9. Here are the results:
Pros with this method:
- Easy/quick.
- Gets the job done, and looks nice enough.
- Photoshop’s AI does very well with portrait images nowadays. If you zoom in, you’ll notice even individual strands of hair is captured almost perfectly in the crop done in Step 4.
Cons with this method:
- Lighting might be mismatched. The background color is flat, while the photo is taken may have some shadow casted onto the background.
The Color Replacement Method
In this method, instead of replacing the entire background image, we’ll merely warp the existing background.
This method has the nice property of preserving shadows and the lighting of the original background.
To get started, just do Steps 1 – 4 in the previous, “Magic Wand” section of this post. As a refresher, your workspace should now have the following layers: 1) with the cropped layer that Photoshop generated, 2) the original layer that was your source photo, and 3) a locked background.
Step 5: Select the “Layer 1” and press control + J (if on Windows) or cmd + J (if on Mac) to duplicate the original layer as a backup. Your layers will now look like this.
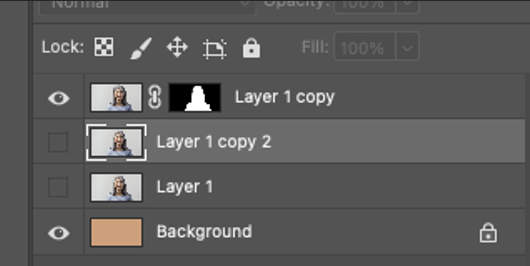
Step 6: Next, turn on your “Layer 1 copy 2” layer (i.e. the copy of your original photo image), and turn off the background layer by pressing on the eyeball/checkbox button next to the corresponding layers.

Quick Explanation: Now you have 2 layers. The cropped layer that sits on top. And the copy of your original image that sits underneath the cropped layer. You need both layers because we’re going to replace the background color in the copy of your original image now. A lot of times, color replacements are “too aggressive” and will corrupt the actual object itself. This is why we have the cropped layer sitting on top. If the lady’s colors in “Layer 1 copy 2” is corrupted, it won’t matter because we’ll have preserved the original pixels for the lady in Layer 1 copy.
Step 7: Press the “b” button to get the brush tool up. Then press the “]” button to make the brush tool very big. Then, create a new layer between your cropped layer (Layer 1 copy), and your copy of your original layer (Layer 1 copy 2).
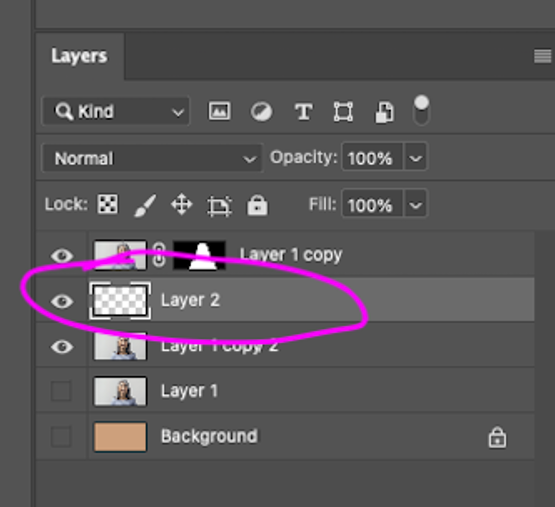
Step 8: Pick the background color you’d like by pressing on the color palette (step identical to Step 8) in the “Magic Wand” section above. I’ve picked the same color in my example. Then, use your brush and paint all of layer 2. It should look like the below:
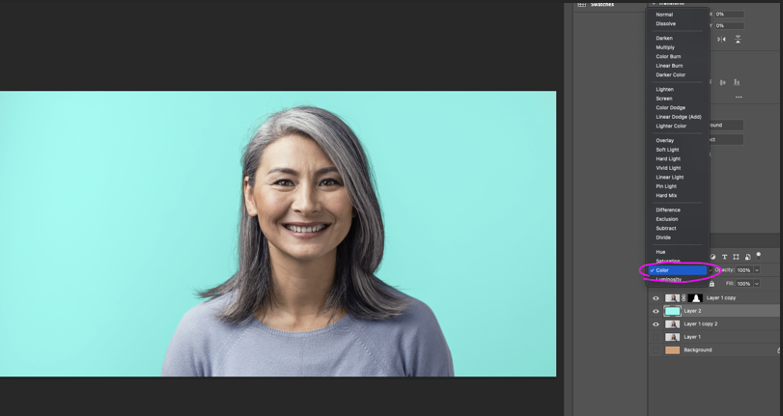
Step 9: Next, we’ll need to incorporate the lighting from the background of Layer 1 copy 2 (i.e. the lighting nuances from your original image’s background). This is simply done by pressing the dropdown menu in the Layers tab and picking the dropdown option that works best for you. Normally, something like “Hue” or “Color” works. Here’s what mine looks like when I pick “Color.”
You’ll notice it looks exactly the same, because the original background is completely flat. But to illustrate my point further, let me paint some “nuances” in Layer 1 copy 2, emulating a original photo that has some nuance in its background. So suppose the original image looked like this instead:

Re-applying my “Layer 2”, this is the result instead.
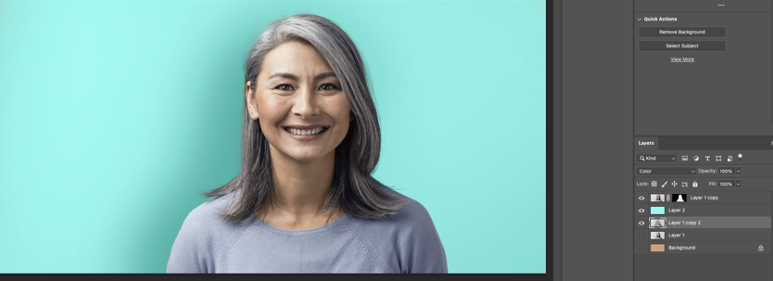
You see the dark shadow the lady cast is preserved. In the “Magic Wand” method I’ve shown above, this shadow won’t be preserved because the entire background is replaced.
Here are the pros and cons with this method.
Pros:
- Preserves lighting/background of the original image.
Cons:
- More steps, and might not be necessary effort. You, or your customer might not care about preserving the lighting/shadows because they don’t have an original one to reference.
- If you wanted shadows, you could always add in special effects in Photoshop with a drop shadow or something (i.e. create an artificial shadow as opposed to having to preserve the original photo’s).
You might just opt for the original “magic wand” method as opposed to this method if you don’t care much about preserving the shadows/lighting.
Wrapping It Up
In this post, we learned two methods to change the background color in Photoshop.
- The first method simply uses the Magic Wand to crop out your subject, leaving a transparent background. The background can then be filled in with a layer beneath your subject’s layer with any color you’d like.
- The second method also uses the Magic Wand to crop out your subject. As replacing the background color in the original (or copy of the original) layer will corrupt the subject, we used this cropped subject layer to stand in front of the original layer. This makes it so that the subject is forced in the foreground, and the corrupted subject is hidden behind this foreground layer.
The first method is good because it’s easy to do. The method to replace the background with the first method is very simple to understand. The downside of the first method is that it might not preserve the lighting or shadow nuances of the original photo.
The second method is the opposite. It preserves the shadow/lighting nuances of the original photo, but the Photoshop concept to change the background color in this way is more complex. It also takes a little bit more time to do.
Whether you want to use the first or second method is up to you. It just depends on your needs and how important leaving in lighting details of your background is.


0 Comments
Trackbacks/Pingbacks